How to Set Up Mautic 5.x on Kubernetes: A Step-by-Step Guide
Most marketing automation platforms are black boxes. You send data in, campaigns go out, and somewhere in between, your contact data lives in a system you can’t query, can’t integrate with your warehouse, and can’t control. For data engineers building customer analytics or lead scoring pipelines, this is a problem.
Mautic 5.x offers an alternative: a self-hosted, open-source marketing automation platform where you own the database, control the event streams, and can integrate directly with your data infrastructure. The trade-off? You’re responsible for running it.
This guide walks through deploying Mautic on Kubernetes using Helm charts. Beyond the setup steps, I’ll explain the background job architecture—understanding how Mautic processes events through Doctrine message queues is useful knowledge for anyone designing async data pipelines.
We’ll cover:
- Setting up a local Kubernetes cluster with Minikube
- Installing Mautic with its ecosystem (MariaDB, Mailhog) as Helm charts
- Understanding the cron job architecture and message queue patterns
What is Mautic?
Mautic is an open-source marketing automation platform covering lead management, email marketing, campaign orchestration, and analytics. Unlike SaaS alternatives (HubSpot, Marketo, ActiveCampaign), you self-host it—which means direct MariaDB database access, full control over the data model, and no vendor lock-in.
Why Self-Host as a Data Engineer?
The decision to run your own marketing automation isn’t primarily about cost savings. It’s about data architecture:
- Direct database access: Query contacts, events, and campaign data directly from MariaDB. No API rate limits, no pagination, no waiting for export jobs.
- Event stream ownership: Page hits, email opens, and form submissions flow through a Doctrine message queue you control. You can tap into this for real-time analytics or CDC pipelines.
- Schema control: Extend the contact model with custom fields that map cleanly to your warehouse schema.
- Privacy compliance: For GDPR/CCPA requirements, knowing exactly where contact data lives simplifies compliance.
The trade-off is operational overhead. You’re responsible for backups, scaling, and security patches. This guide covers the setup; whether it’s worth it depends on your integration needs.
Prerequisites
For macOS users, install the required tools:
| |
To take your Kubernetes interaction up a notch, I highly recommend getting your hands on k9s.
Mautic stack design
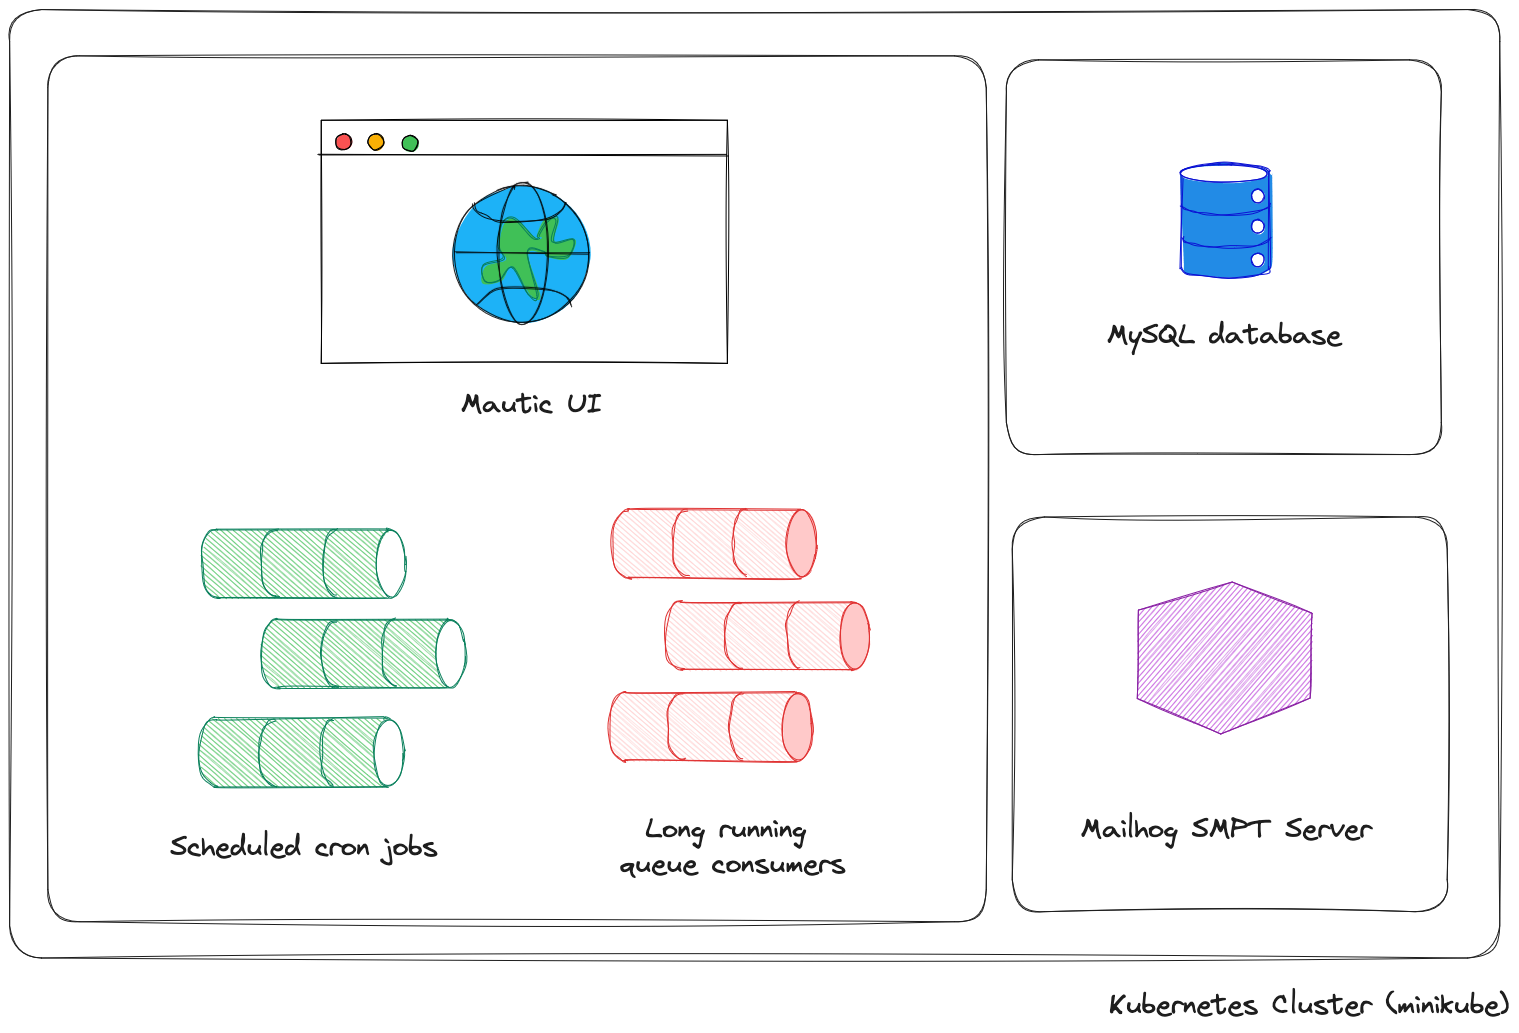
Desired system design
Kubernetes cluster setup with Minikube
Start the cluster and enable required addons:
| |
We’ll leverage the ingress feature to expose both Mautic UI and Mailhog.
Next, add the required Helm repositories:
| |
With these repositories configured, we can install the services.
Get the Deployment Guide
7-checkpoint checklist with all Helm values files for MariaDB, Mailhog, and Mautic. Copy-paste ready YAML configs included.
MariaDB
bitnami/mysql, simply substitute bitnami/mariadb instead.Start with the MariaDB database using a custom configuration file:
| |
Then, proceed with installing the chart.
| |
MariaDB service type is set to ClusterIP, meaning that it is not accessible from outside of the cluster. There are multiple ways to connect to it, for example creating a NodePort service and instructing Minikube to forward the connection.
| |
Then install the service using kubectl and forward the connection:
| |
Note that the port number changes each time you run minikube service mariadb-nodeport.
Mailhog
Mailhog installation is straightforward, but we’ll configure it to use ingress routing. This setup enables browser access to the Mailhog UI for reviewing emails sent by Mautic.
Create a configuration file for Mailhog:
| |
Now, install the Mailhog chart using this configuration:
| |
Mautic
I’m leveraging the robust mautic-chart repository maintained by Tanjim Hossain. A few quirks need addressing before running the service properly. I’ll raise these issues with the author, but at the time of writing, these steps were crucial.
Missing favicon ConfigMap
The Helm chart flags a missing ct-favicon ConfigMap definition, necessitating manual creation.
| |
| |
Adjust values files
Modify specific properties from the original chart’s values.yaml file:
- Update
SITE_URLtohttp://mautic.local, - Revise
MAUTIC_ADMIN_*related credentials, - Configure
MAUTIC_MAILER_DSNtosmtp://mailhog.default.svc.cluster.local:1025for Mailhog SMTP integration, - Modify the HTTP health-check probe to respond to 200 status code instead of 301,
- Update
dbproperties, setting the host tomariadb.default.svc.cluster.localand adjusting user credentials accordingly - Enable
ingressmode by setting the service host tomautic.local
Optional adjustments::
- Fine-tune cron job schedules (see below)
- Enable API access by setting both
MAUTIC_API_ENABLED: "1"andMAUTIC_API_ENABLE_BASIC_AUTH: "true", - Add geo IP lookup table credentials by setting the
MAUTIC_IP_LOOKUP_AUTHvariable.
By default, the config/local.php config file is set to be read-only, which prevents you from manually configuring the service. However, you can temporarily relax the permissions to look up the file after changes and persist them in your mautic-values.yaml.
Notice the variable prefix of MAUTIC_ required for the changes to be applied to the file.
| |
Start service and fix permissions issue
At this point, you should be able to install the Helm chart using the specific revision.
| |
After a while, you’ll notice that the mautic pod fails to start due to the healthcheck endpoint returning a 500 status code.
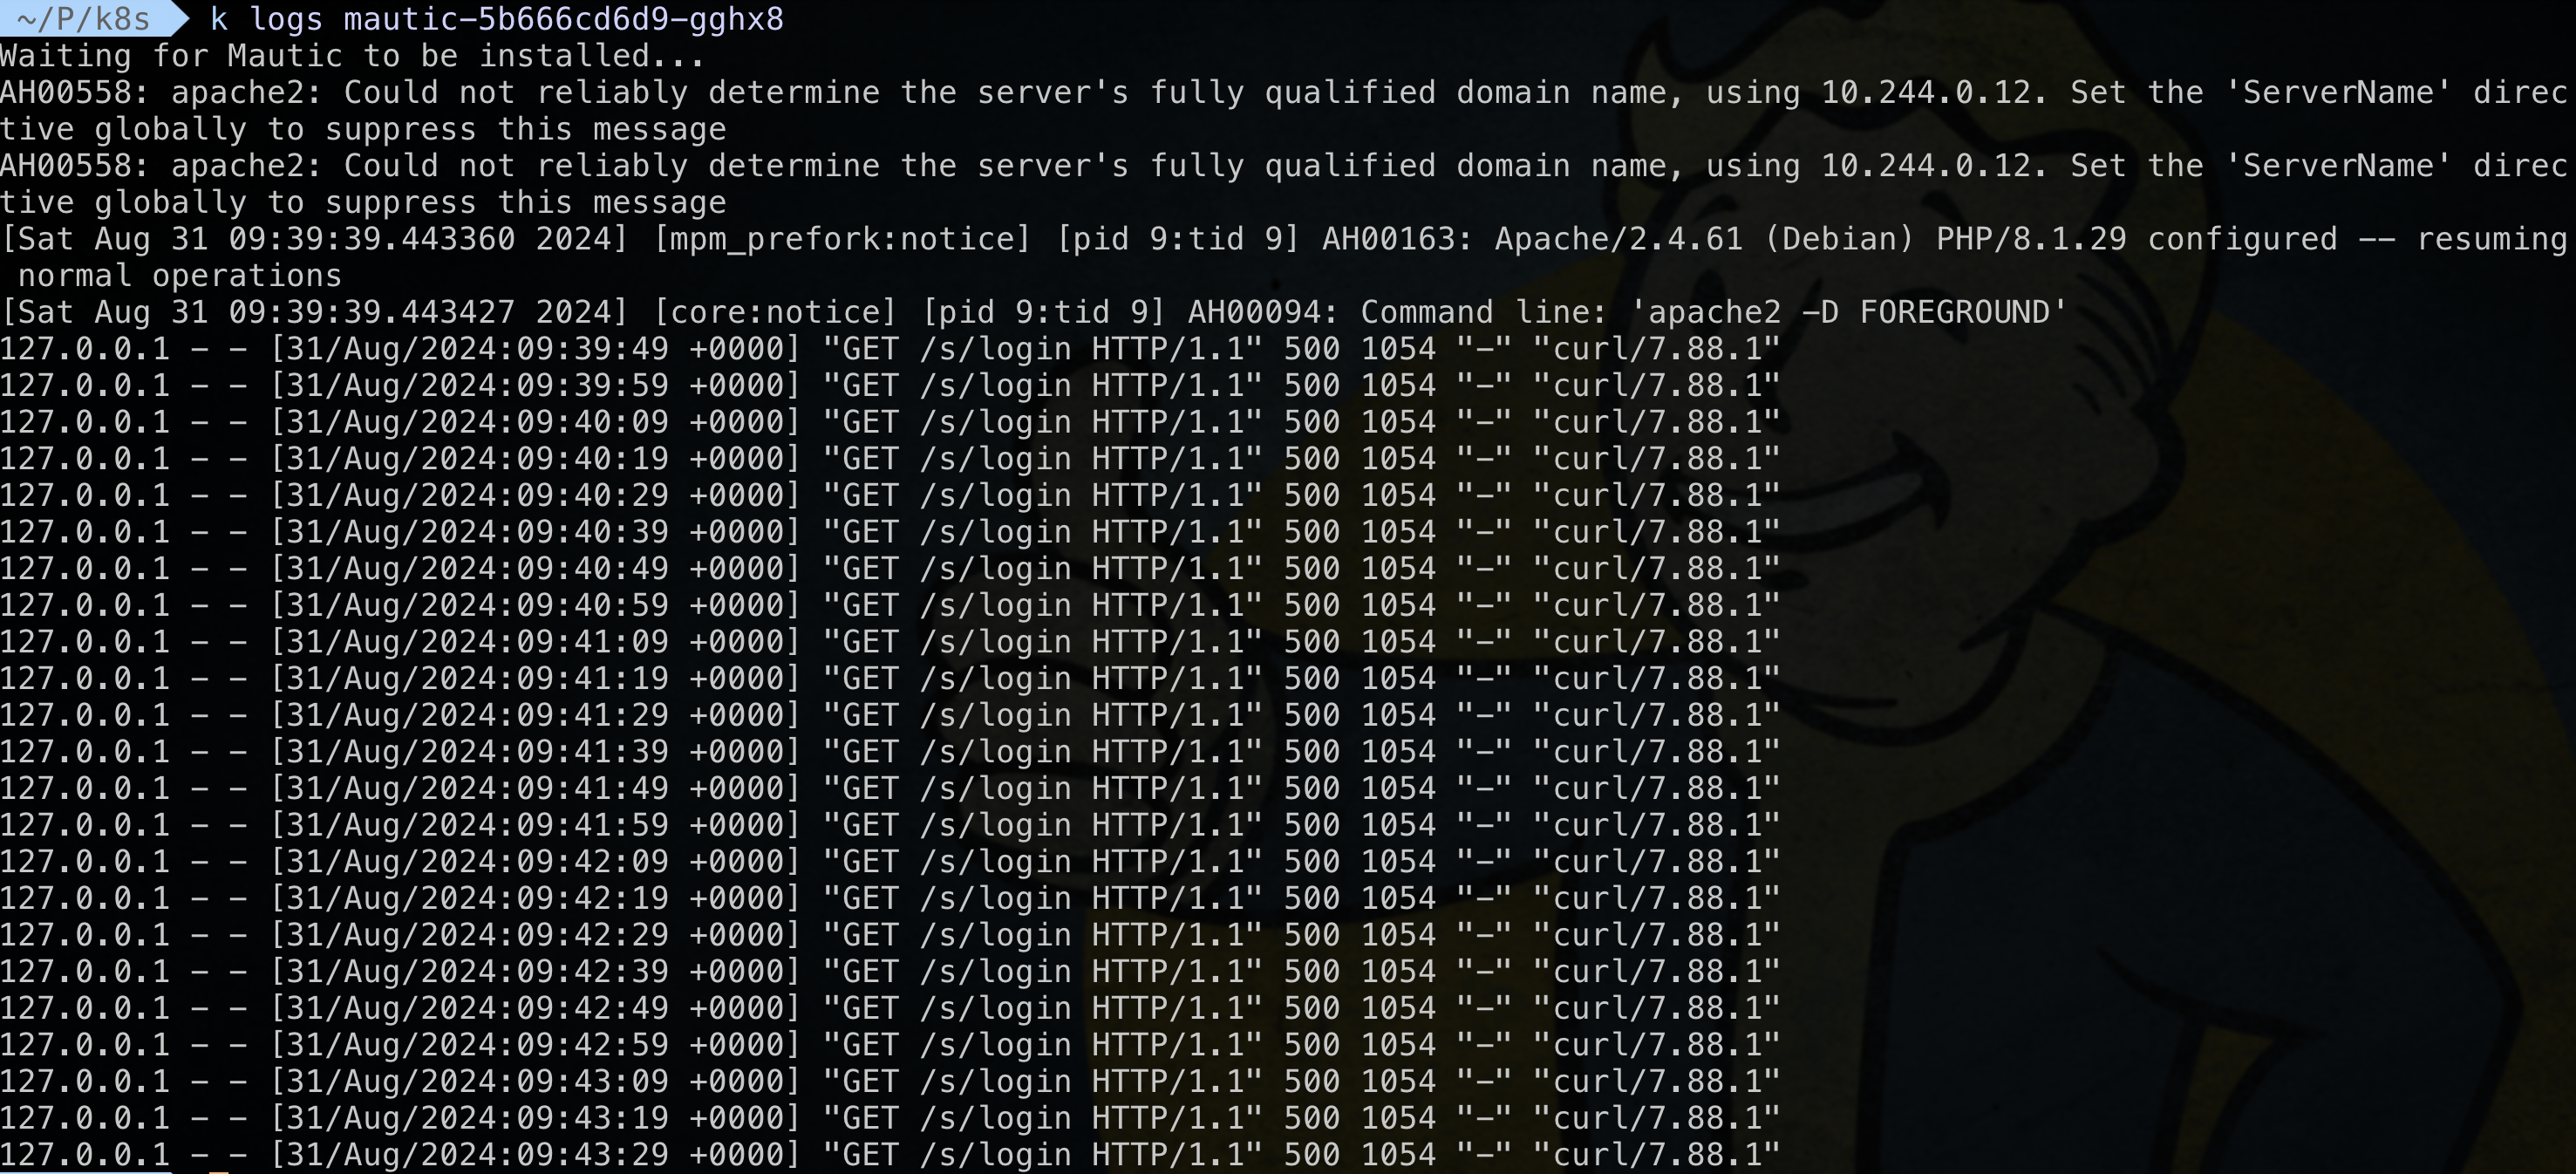
Mautic healthcheck probe returning “Server Error” status code
The error is caused by Kubernetes claiming invalid ownership of the var/ directory. We can resolve this manually:
| |
After this adjustment, the entire stack should be fully functional.
Web UI access
To reach both Mailhog and Mautic apps in the browser, we’ll leverage Minikube’s tunneling feature.
| |
Additionally, add the following entries to the /etc/hosts file:
| |
Both Mautic and Mailhog should now be accessible in your browser.
Mailhog UI (mailhog.local) Mautic Web UI (mautic.local)
API access
Here are a couple of examples of how you can interact with Mautic using the HTTP API. Before proceeding, ensure that you’ve enabled API access in the mautic-values.yaml file.
Each request requires authorization, meaning you need to provide your credentials using basic auth. Assuming the username is admin with password Maut1cR0cks!, the authorization header should look like this:
| |
| |
| |
| |
You can reference Mautic Developer docs for a full API reference here.
Jobs
Mautic’s architecture separates the web application from background processing—a pattern familiar to anyone who’s built data pipelines. Events (page hits, email opens, form submissions) are written to a Doctrine message queue in MariaDB, then processed asynchronously by cron-triggered consumers.
Understanding this architecture matters for two reasons: you need to configure the jobs correctly for Mautic to function, and if you’re building integrations, knowing when data becomes consistent helps you avoid race conditions.
Jobs can be triggered via Kubernetes CronJobs (configured in the Helm chart) or manually via CLI for debugging.
mautic-values.yaml by setting the enabled property to false and then execute the php bin/console <job_name> command.Essentials
Several essential cron jobs are required to keep the Mautic service running and updating data in the background, laying the groundwork for its core functionality. Note that most of them can be parameterized for efficiency (like the input batch size).
The following ones are dependent on each other, thus they should be staggered and scheduled in the following order:
mautic:segments:update
This job identifies new contacts to be added to a segment and orphaned contacts to be removed from segments. (code) (alias mautic:segments:rebuild)
mautic:campaigns:rebuild
This job updates campaign membership by adding or removing contacts from campaigns based on the selected segments. (code) (alias mautic:campaigns:update)
mautic:campaigns:trigger
This job triggers timed events for published campaigns. (code)
Queue processing
Events like sending emails and registering page hits are buffered in the messenger_messages table using the Doctrine framework. You need to set up certain jobs to periodically process the queue.
messenger:consume email
Consume email messages from the message queue and process them.
messenger:consume hit
Consumes page/video hits from the message queue and processes them.
messenger:consume failed
Consumes failed messages from the message queue and tries to re-processes them.
Others
mautic:broadcasts:send
Handles the sending of scheduled emails (by setting Publish/Unpublish dates).
mautic:messages:send
Attempts to process all pending (bounced) emails that haven’t reached their maximum retry count.
php bin/console command without any arguments, you will see the list of available Mautic jobs.Data Integration Opportunities
With Mautic running, you have direct access to several valuable data sources:
MariaDB tables worth exploring:
leads- Contact records with all custom fieldslead_event_log- Complete interaction history per contactcampaign_lead_event_log- Campaign touchpoint datamessenger_messages- The Doctrine queue (useful for understanding event throughput)
Integration patterns:
- CDC to warehouse: Use Debezium or similar to stream changes from MariaDB to your data warehouse for unified customer analytics
- Real-time scoring: Tap into the message queue to trigger ML-based lead scoring before Mautic processes the event
- Reverse ETL: Push enriched segments from your warehouse back to Mautic via the API
What’s Next
For production use:
- Deploy on a cloud provider with SSL/TLS termination at the ingress level
- Configure a production SMTP provider (SendGrid, Postmark, AWS SES)
- Set up MariaDB backups and point-in-time recovery
- Build a data pipeline to sync contacts from your source systems
The operational overhead is real, but if you need tight integration between marketing automation and your data platform, self-hosting gives you options that SaaS vendors simply don’t offer.
Get the Mautic K8s Starter Kit
Complete deployment guide plus 5 ready-to-use YAML files: MariaDB values, Mailhog values, Mautic values, NodePort service, and favicon ConfigMap.